What was the challenge or problem to solve?
The field of forensic engineering often faces challenges that require not only advanced technical skills but also a thorough methodology to identify and solve manufacturing problems. One such challenge arose when one of our clients reported defects in the aluminium parts painting process. The root cause of the imperfections observed on the surface of the finished parts needed to be determined.

The affected parts exhibited adhesion problems in the coating, resulting in unsatisfactory quality and potentially costly production rejections. To address this problem, a significant challenge was posed: utilizing advanced analysis techniques to observe the samples at an extremely high level of detail. This was crucial to identifying the exact nature of the impurities that were compromising the painting process.

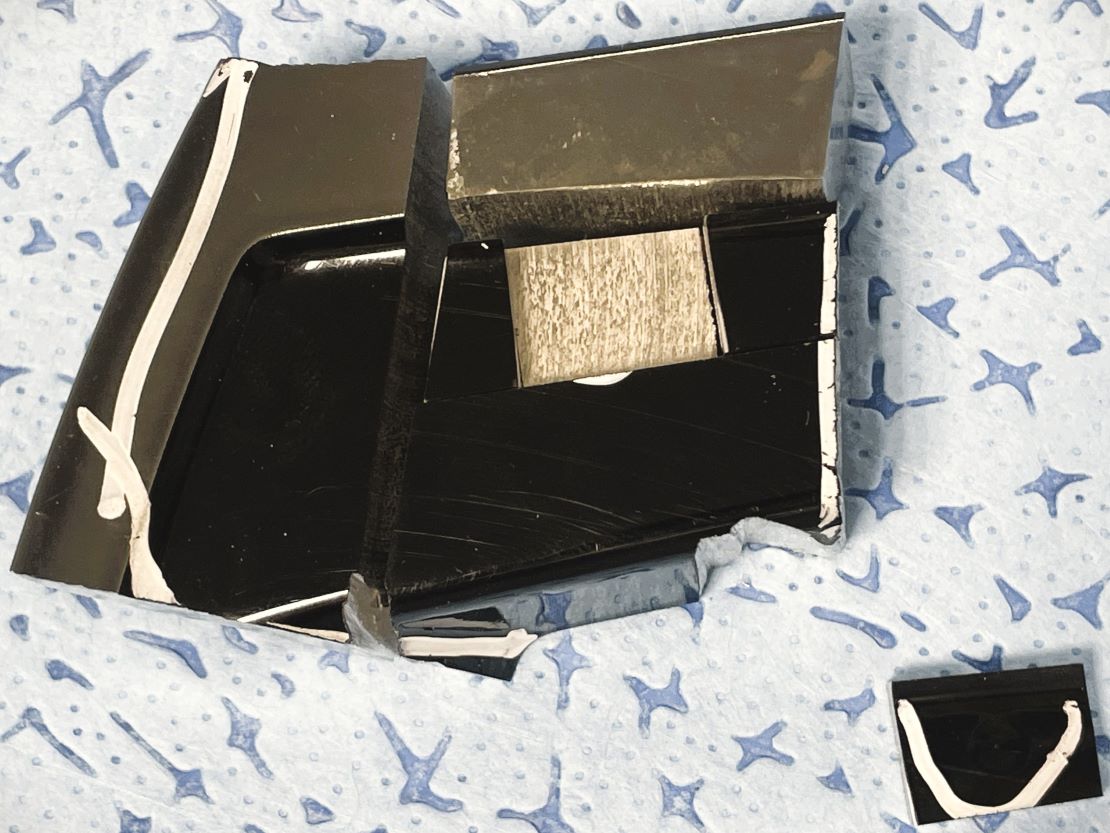
Initially, a visual inspection of the affected parts was conducted to identify the areas with defects. Subsequently, using a diamond saw, the size of the samples was reduced so they could be analyzed under an electron microscope.
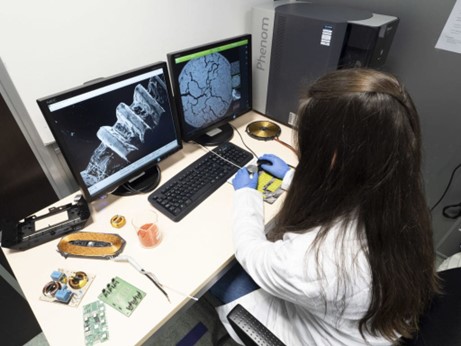
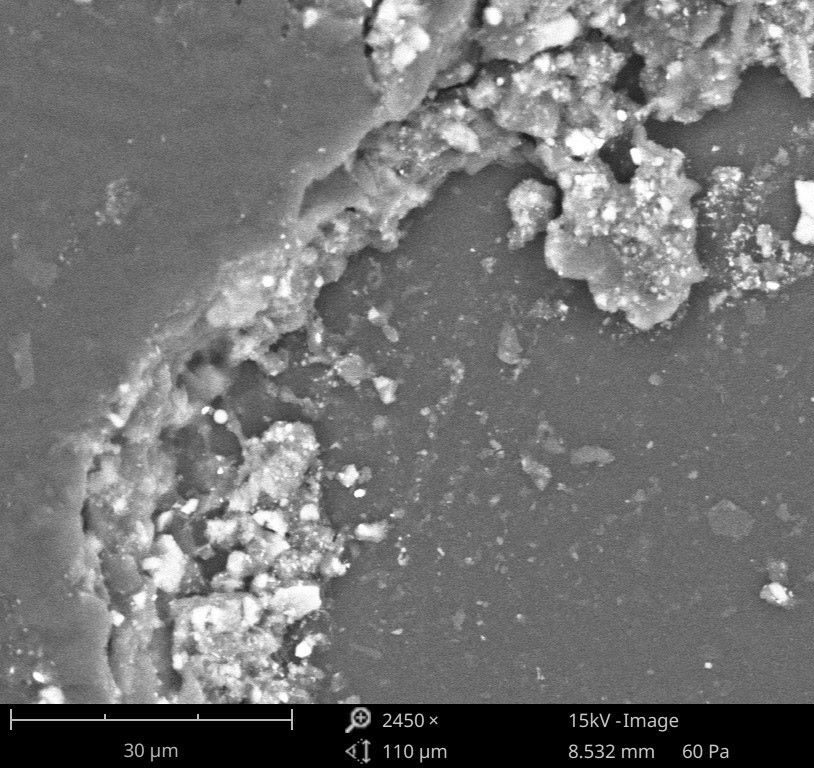
Once prepared, the samples underwent rigorous observation under the SEM, where the morphology of the affected surface was examined. In parallel, using EDX techniques, the elemental composition was analyzed, allowing for the identification of impurities present on the surface that were interfering with the painting process.
The analysis of the collected data was performed using specialized software, facilitating the interpretation of the results and correlation with the defects observed in production. Finally, all information and findings were compiled into a detailed report that not only described the problem and its causes but also suggested corrective measures to prevent future occurrences.
This meticulous approach allowed us to identify the cause of the imperfections, thus ensuring continuous improvement in our client’s processes.

